Notifications
Clear all
Windows 11 forums
1
Posts
1
Users
0
Reactions
5,936
Views
Topic starter
Do you still own a Razer Phone 2 like me, and want to put it to use before dumping it? In this forum post, I'll explain the easy process to root Razer Phone 2 using Windows 11:
- On your phone, you can enable developer mode by navigating to Settings > System > About Phone and simply tap the listed build number about 10 times. To enable USB debugging, again go to Settings > System > Developer Options and tick USB debugging.
- Download USB drivers from here.
- Download SDK from here.
- Extract the content of the downloaded “platform-tools-latest-windows.zip” file to C:\adb.
- After extracting, open the folder, press the SHIFT key and right-click. You would need to select “Open command window here”. It could also appear as “Open PowerShell window here”.
- Connect the phone to PC.
- USB debugging should pop-up in the notifications.
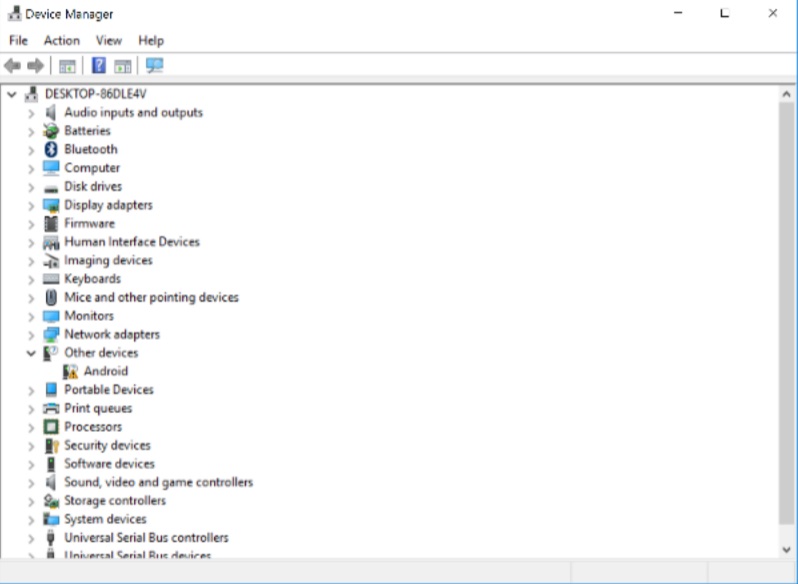
- Open "Device manager" find your phone in the list.
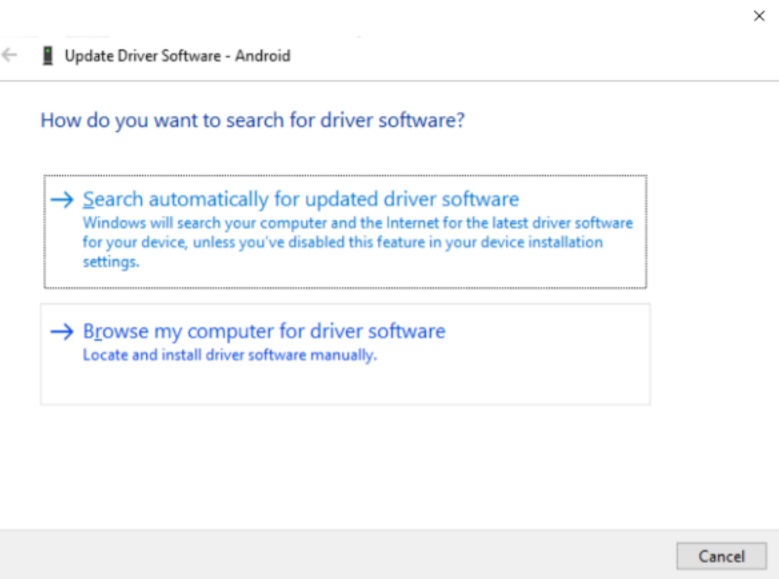
- Right-click and select "Update driver".
- Select browse my computer then "Let me pick.."
- You may need to select 'Show All Devices' option and tap press Have Disk to point it to %PATH.
- Select the options, then press Next to Finish the process going through the dialogs.
- In Command Prompt, navigate to %PATH\platform-tools.
- You can confirm the installation by running the fastboot devices command. You may see your device's serial number if the process was performed as outlined.
- You would need to download the factory image from here.
- Extract the content and copy the boot.img file to the phone.
- Download and install Magisk Manager from here on your internal storage. Remove the SD card to avoid installation on it.
- In the app, tap install, tap the option select 'Patch Boot Image File' and select the boot.img.
- Again connect your Razer Phone and copy the new patched_boot.img to your PC.
- Disconnect the device and boot phone into fastboot mode by holding the Power button + Volume Down Keys for a little while.
- Finally, reconnect the phone and PC to flash the patched_boot.img to your device via fastboot
- Open Powershell Window and run the following command:
fastboot flash boot patched_boot.img
- You are now supposed to turn on Android Debugging and simply the following command again:
adb shell getprop ro.boot.slot_suffix
- Note the output of the command and reboot back into bootloader.
- If the output which you noted in step 10 was _a, run the following command:
-
fastboot flash boot_a patched_boot.img
- Otherwise for _b output, run the following command:
-
fastboot flash boot_b patched_boot.img
- Reboot the device and open Magisk Manager to confirm that the patched boot image was installed successfully.
- The phone may see a new OTA update that you have to apply in order to continue using the device.
Done, your Razer Phone 2 is now rooted!
Posted : 27/04/2024 6:22 pm

